
How to Start Seeds Indoors:

A Beginner’s Guide to Growing Flowers (and Patience)
February 14, 2026 | Catherine Michael
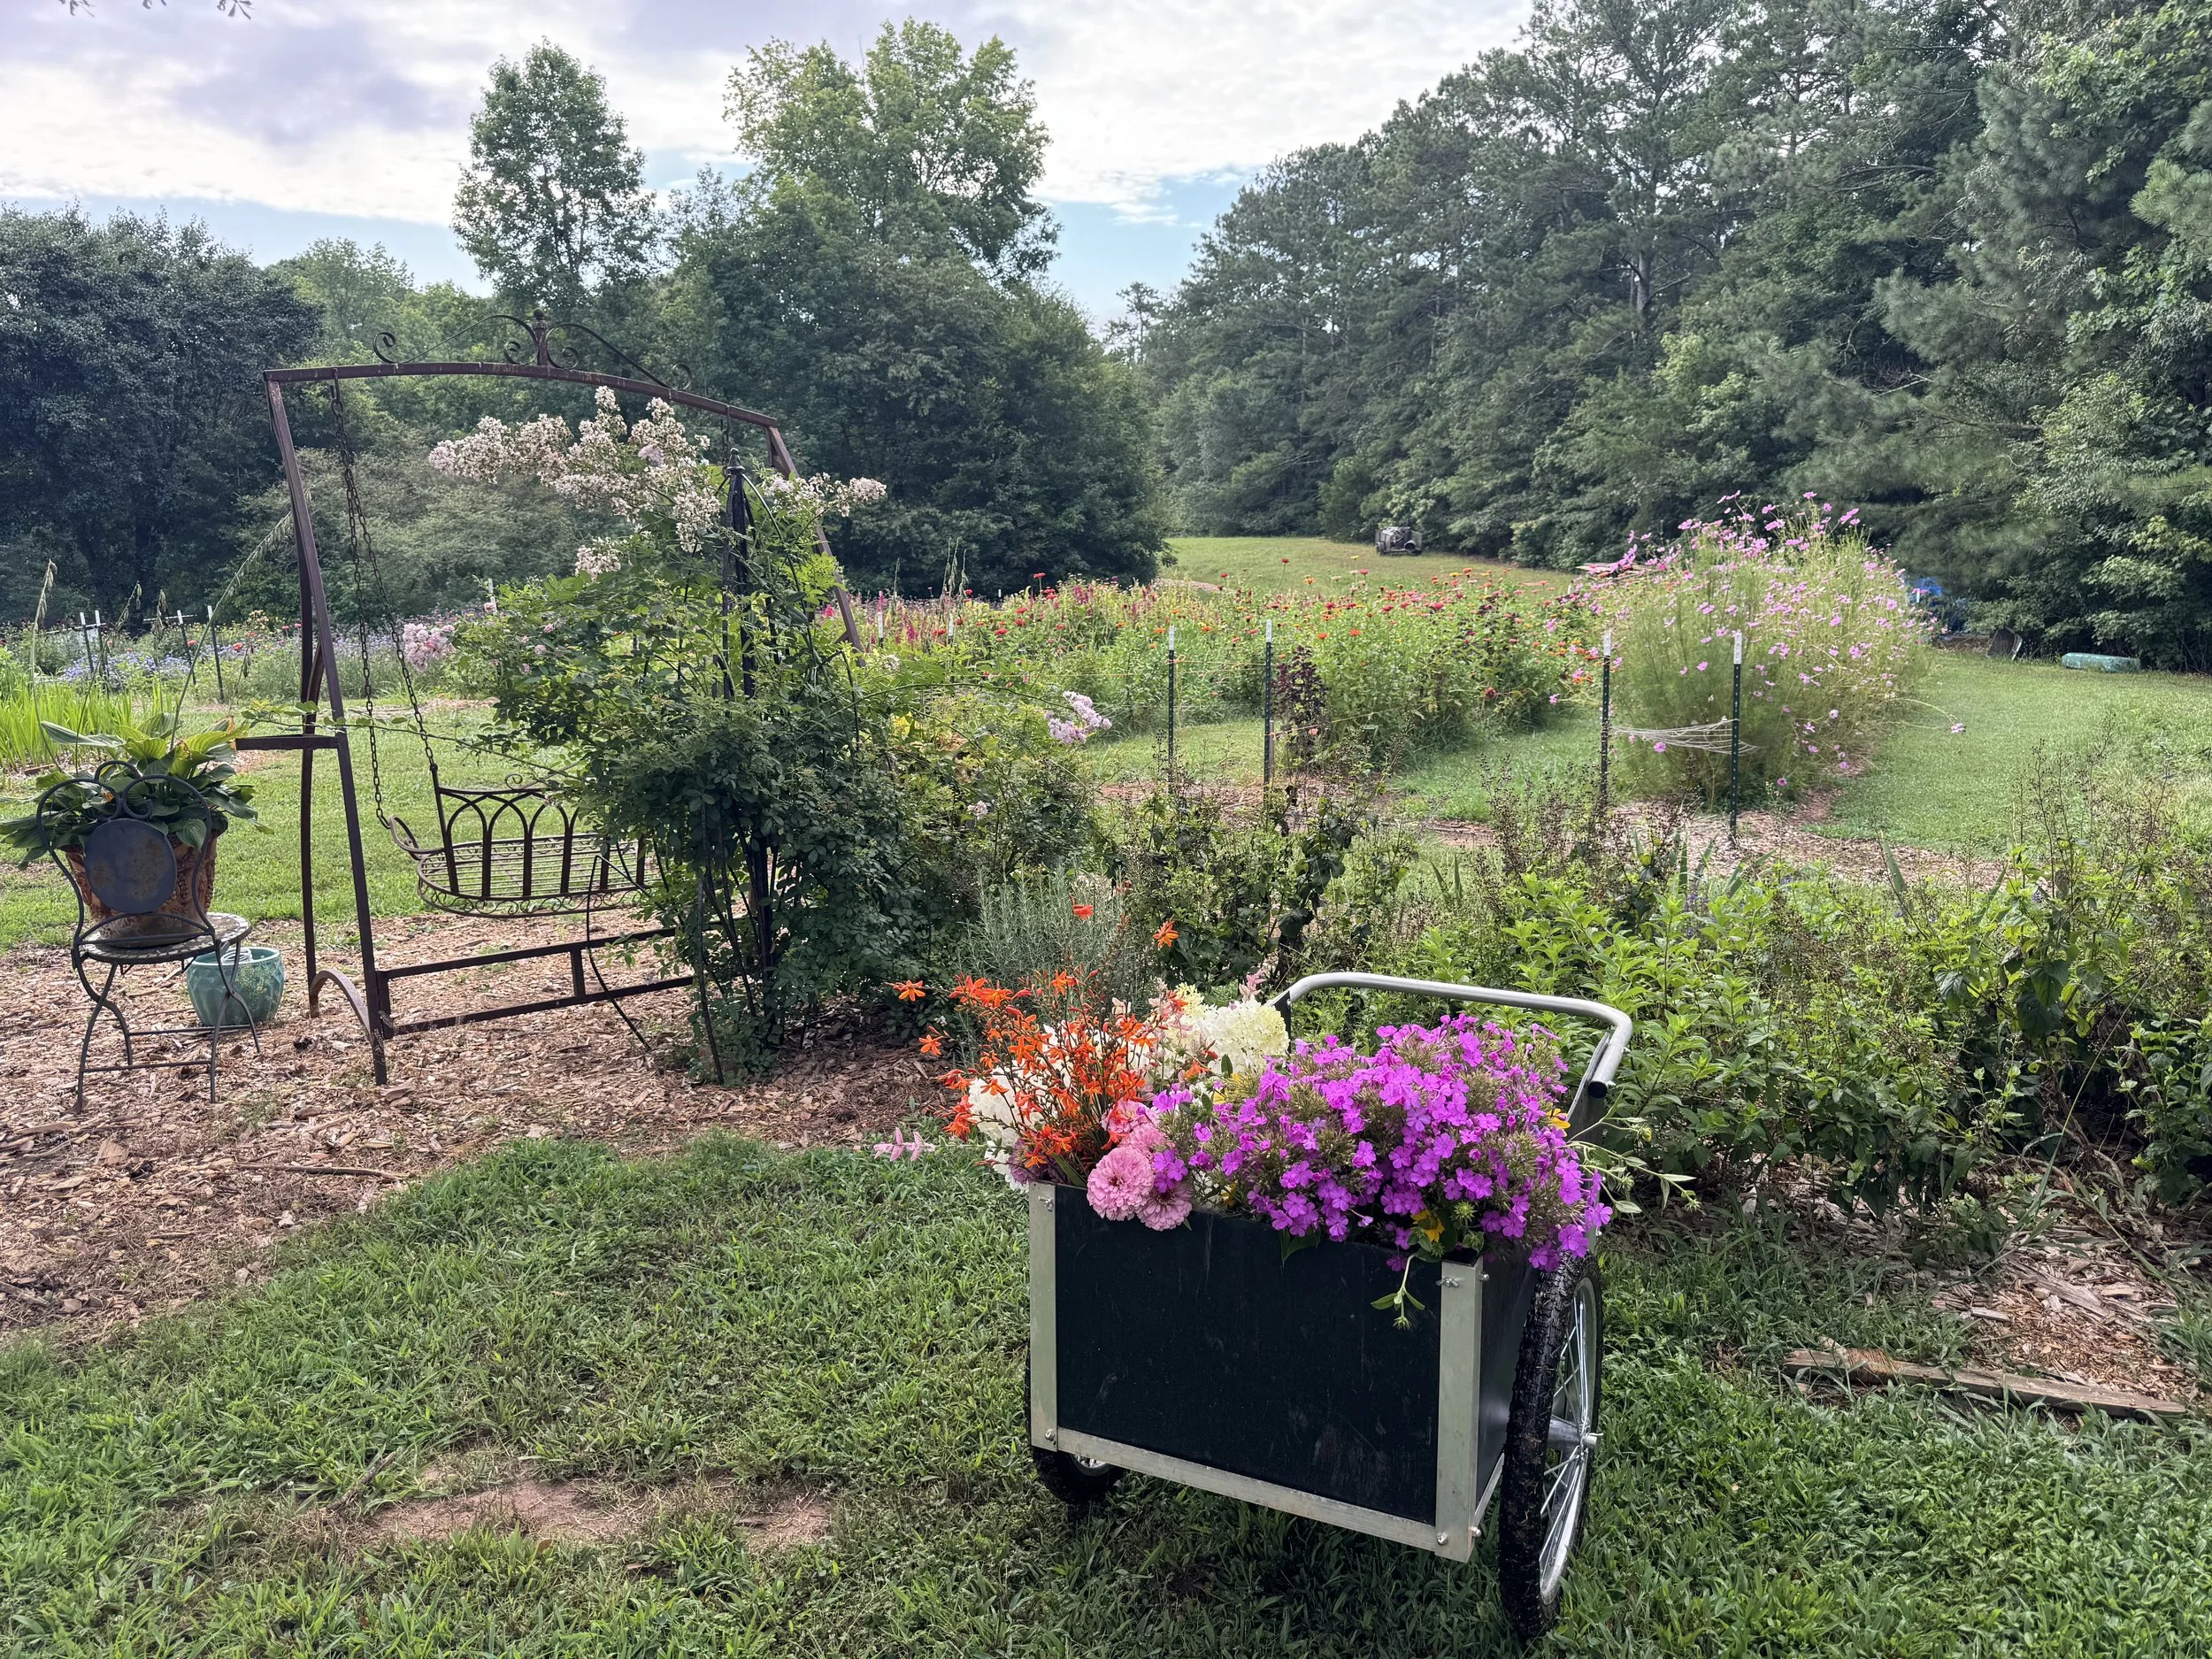
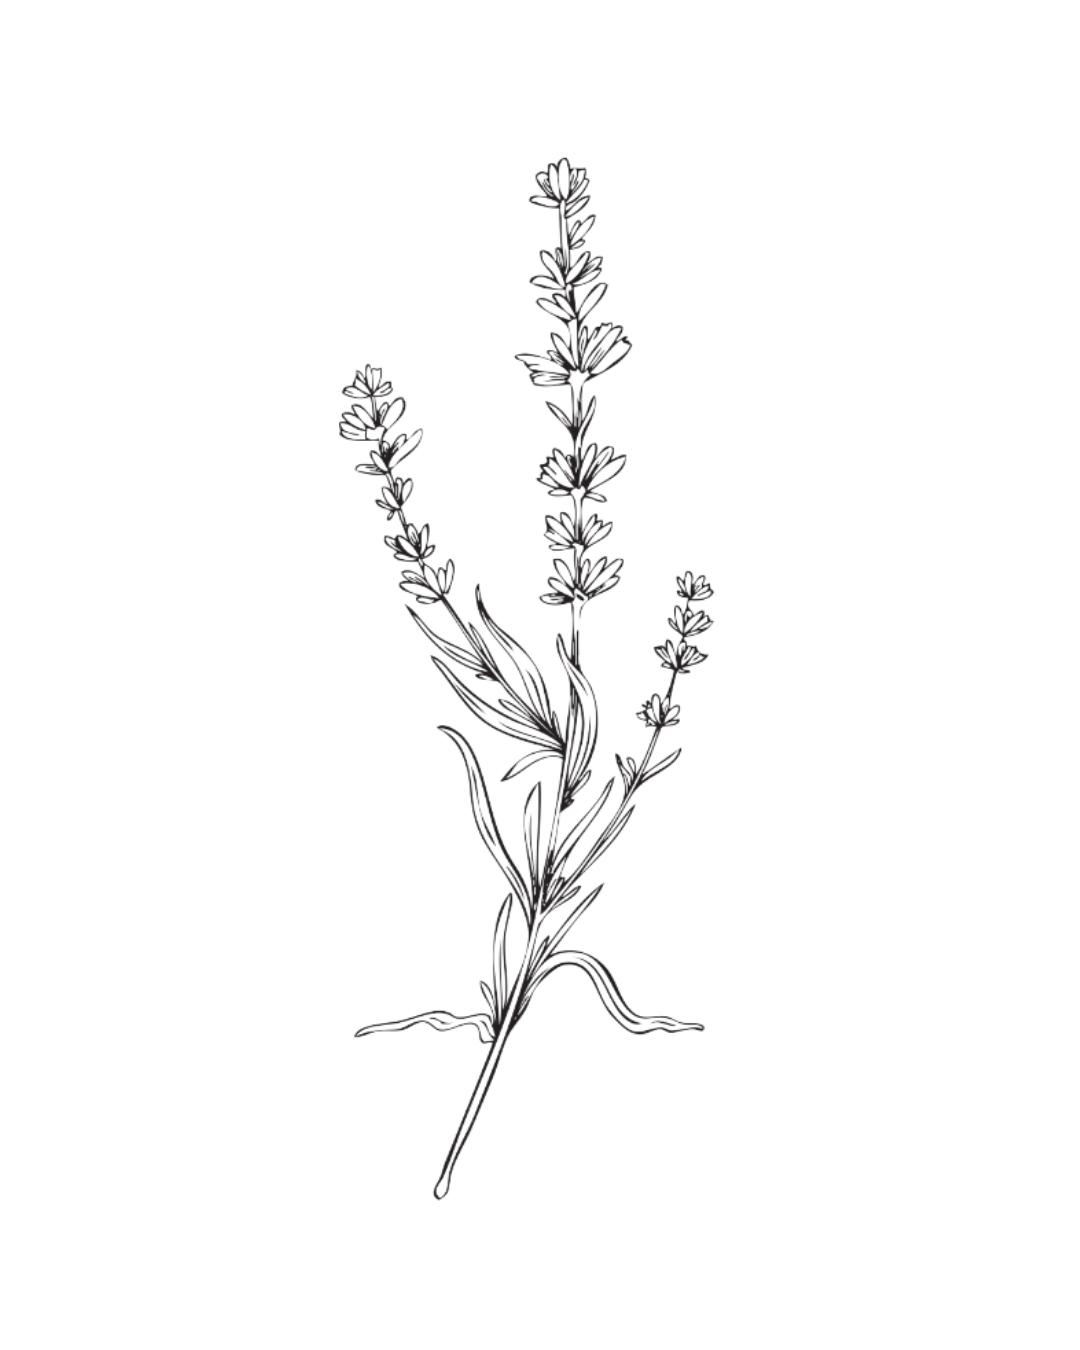
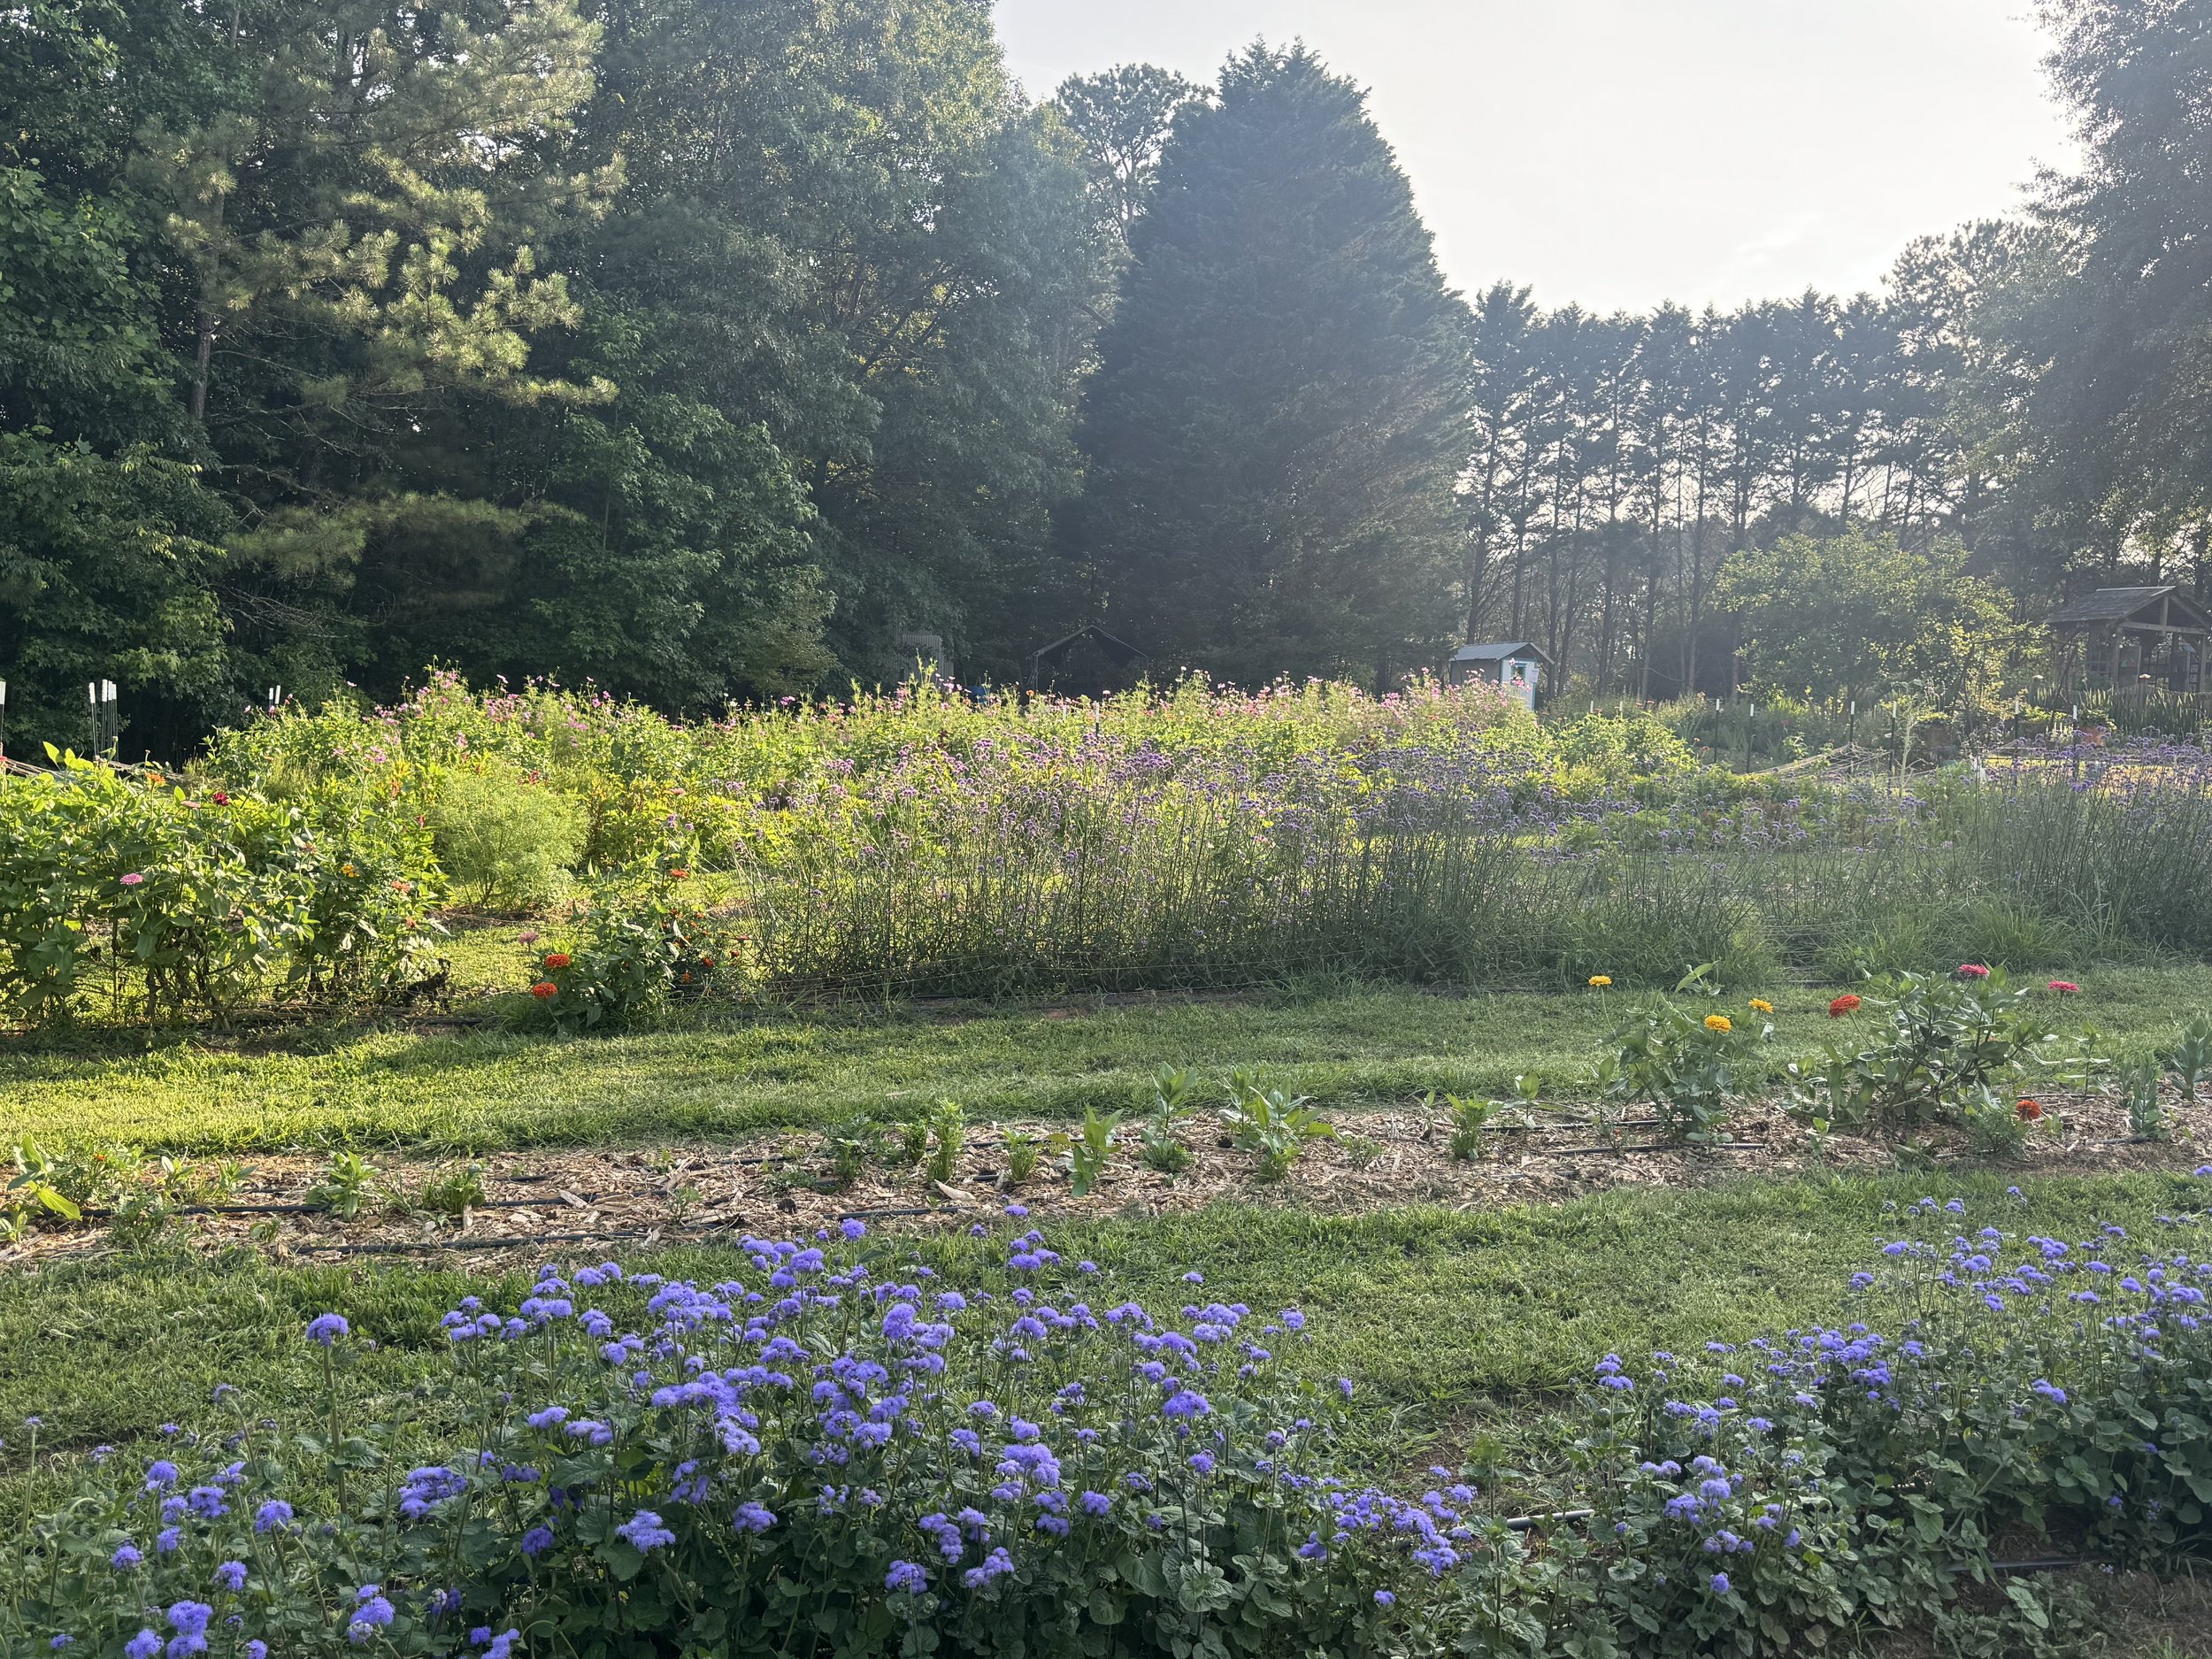
Image: Flowers blooming spring 2025
Are you ready to take your gardening to the next level?
Learning how to grow your own plants is fun, economical, rewarding and deeply therapeutic. Having little seedlings come up during the gray days of January and February is wonderful. Green growth is good for the soul. Watching something emerge from the soil reminds us that growth is happening, even when we can’t see it yet in ourselves.
First thing you need to know about seed starting — you will kill some plants.
I kill so many plants. It is the nature of learning and growing from seed.
Plan on it. Expect it. And when it happens, take a breath and try again.
There is something quietly powerful about this rhythm. Seed starting teaches patience, resilience, and self-compassion. Not everything thrives the first time in the garden or in life.
This is just a small guide to help you grow the skill of seed starting. The more you grow, the more confident you will become. Confidence, like seedlings, develops slowly with care and consistency.
Supplies You Will Need
Gathering supplies is the first ritual. Lay everything out. Touch the seeds. Read the packets. Imagine what they will become. This moment of preparation is grounding — it slows you down and invites intention.
Seeds – Choose varieties that bring you joy. Research shows that anticipation and hope are powerful mood lifters. Even selecting seeds can spark that sense of possibility. For the purposes of just starting I would recommend Johnny's Seeds. I purchase all the farm seed from them and I have not had a germination problem.
Seed trays or cell packs – You can purchase seed starting kits at many retail stores. You can also reuse nursery cell packs, egg cartons, or yogurt cups. Reusing containers can add a sustainable rhythm to your practice. There is something satisfying about giving materials new life. I have used them all, currently I like to use soil blocking, this maximizes my space and I can get hundreds of seeds started in a tray rather than a few at a time.
Tray (1020 trays work great) – Creating order in your space often creates order in your mind. You need something that will hold water when bottom watering and keep the cells orderly and easy to move.
Dome lid or plastic cover – This protects the tiny seeds as they germinate. Think of it as creating a nurturing environment — something we all need in early stages of growth. I have used clear plastic wrap or drop cloth as my “dome” you just want something that helps keep the moisture for germination.
Seed Starting Mix – Working your hands into soil is one of the most studied aspects of therapeutic horticulture. Soil microbes have even been linked to improved mood. I tend to try and stay away from any mixes that contain peat moss for sustainable reasons. I like “Pro-Mix” I use it for all my seed starting. AVOID topsoil, this will not hold moisture, seeds need moisture to germinate.
Fine vermiculite – The small act of gently covering seeds encourages mindfulness. Slow hands. Light touch. I use vermiculite to cover almost all my seeds (read the packs, some need to be uncovered to germinate.) For all my soil and vermiculite needs I purchase from Griffins Greenhouse supply they are located in Canton, GA and they are great.
Plant ID markers – Labeling your work builds awareness and attentiveness. It’s a simple act of care. I use wooden sticks and a sharpie.
Heat mat & Light – Warmth and light are basic needs — for seedlings and for us. Creating optimal conditions teaches us to notice and respond to needs early. A bright south-facing window, or artificial light, this can be a shop light with LED bulbs. Don’t overthink it, you don’t have to get all fancy with “grow lights.” I purchased heat mats from Amazon about 5 years ago and they are still doing great.
Time lapse video creating soil blocks. There is a small learning curve.
Location Requirements
Seed starting doesn’t have to be pretty — it just needs to be intentional. Even a small corner can become a winter sanctuary of growth.
Creating a dedicated seed space can feel like carving out a small pocket of calm. It becomes somewhere you visit daily, even if only for a few minutes. Those minutes matter.
Your space needs:
Adequate Light – Light regulates plant growth and our own internal rhythms. Exposure to light during gray months can improve mood.
Warmth – Warm environments promote germination and comfort.
Air Flow – Gentle airflow strengthens seedlings. Mild stress builds resilience — in plants and people.
Safe from pets – Protecting new growth reinforces the importance of boundaries.
Proximity to water – Watering creates routine about every two days. Routine is one of the most stabilizing elements in therapeutic horticulture practice.
Checking seedlings becomes a grounding daily ritual. It invites presence. You can’t rush germination — and that teaches us something.

Newly planted seeds covered with plastic drop cloth. I reuse every season.Timing of Seed Starting
In this post there are four main topics:
Supplies you will need
Location requirements
Timing of sowing
Method for seed sowing
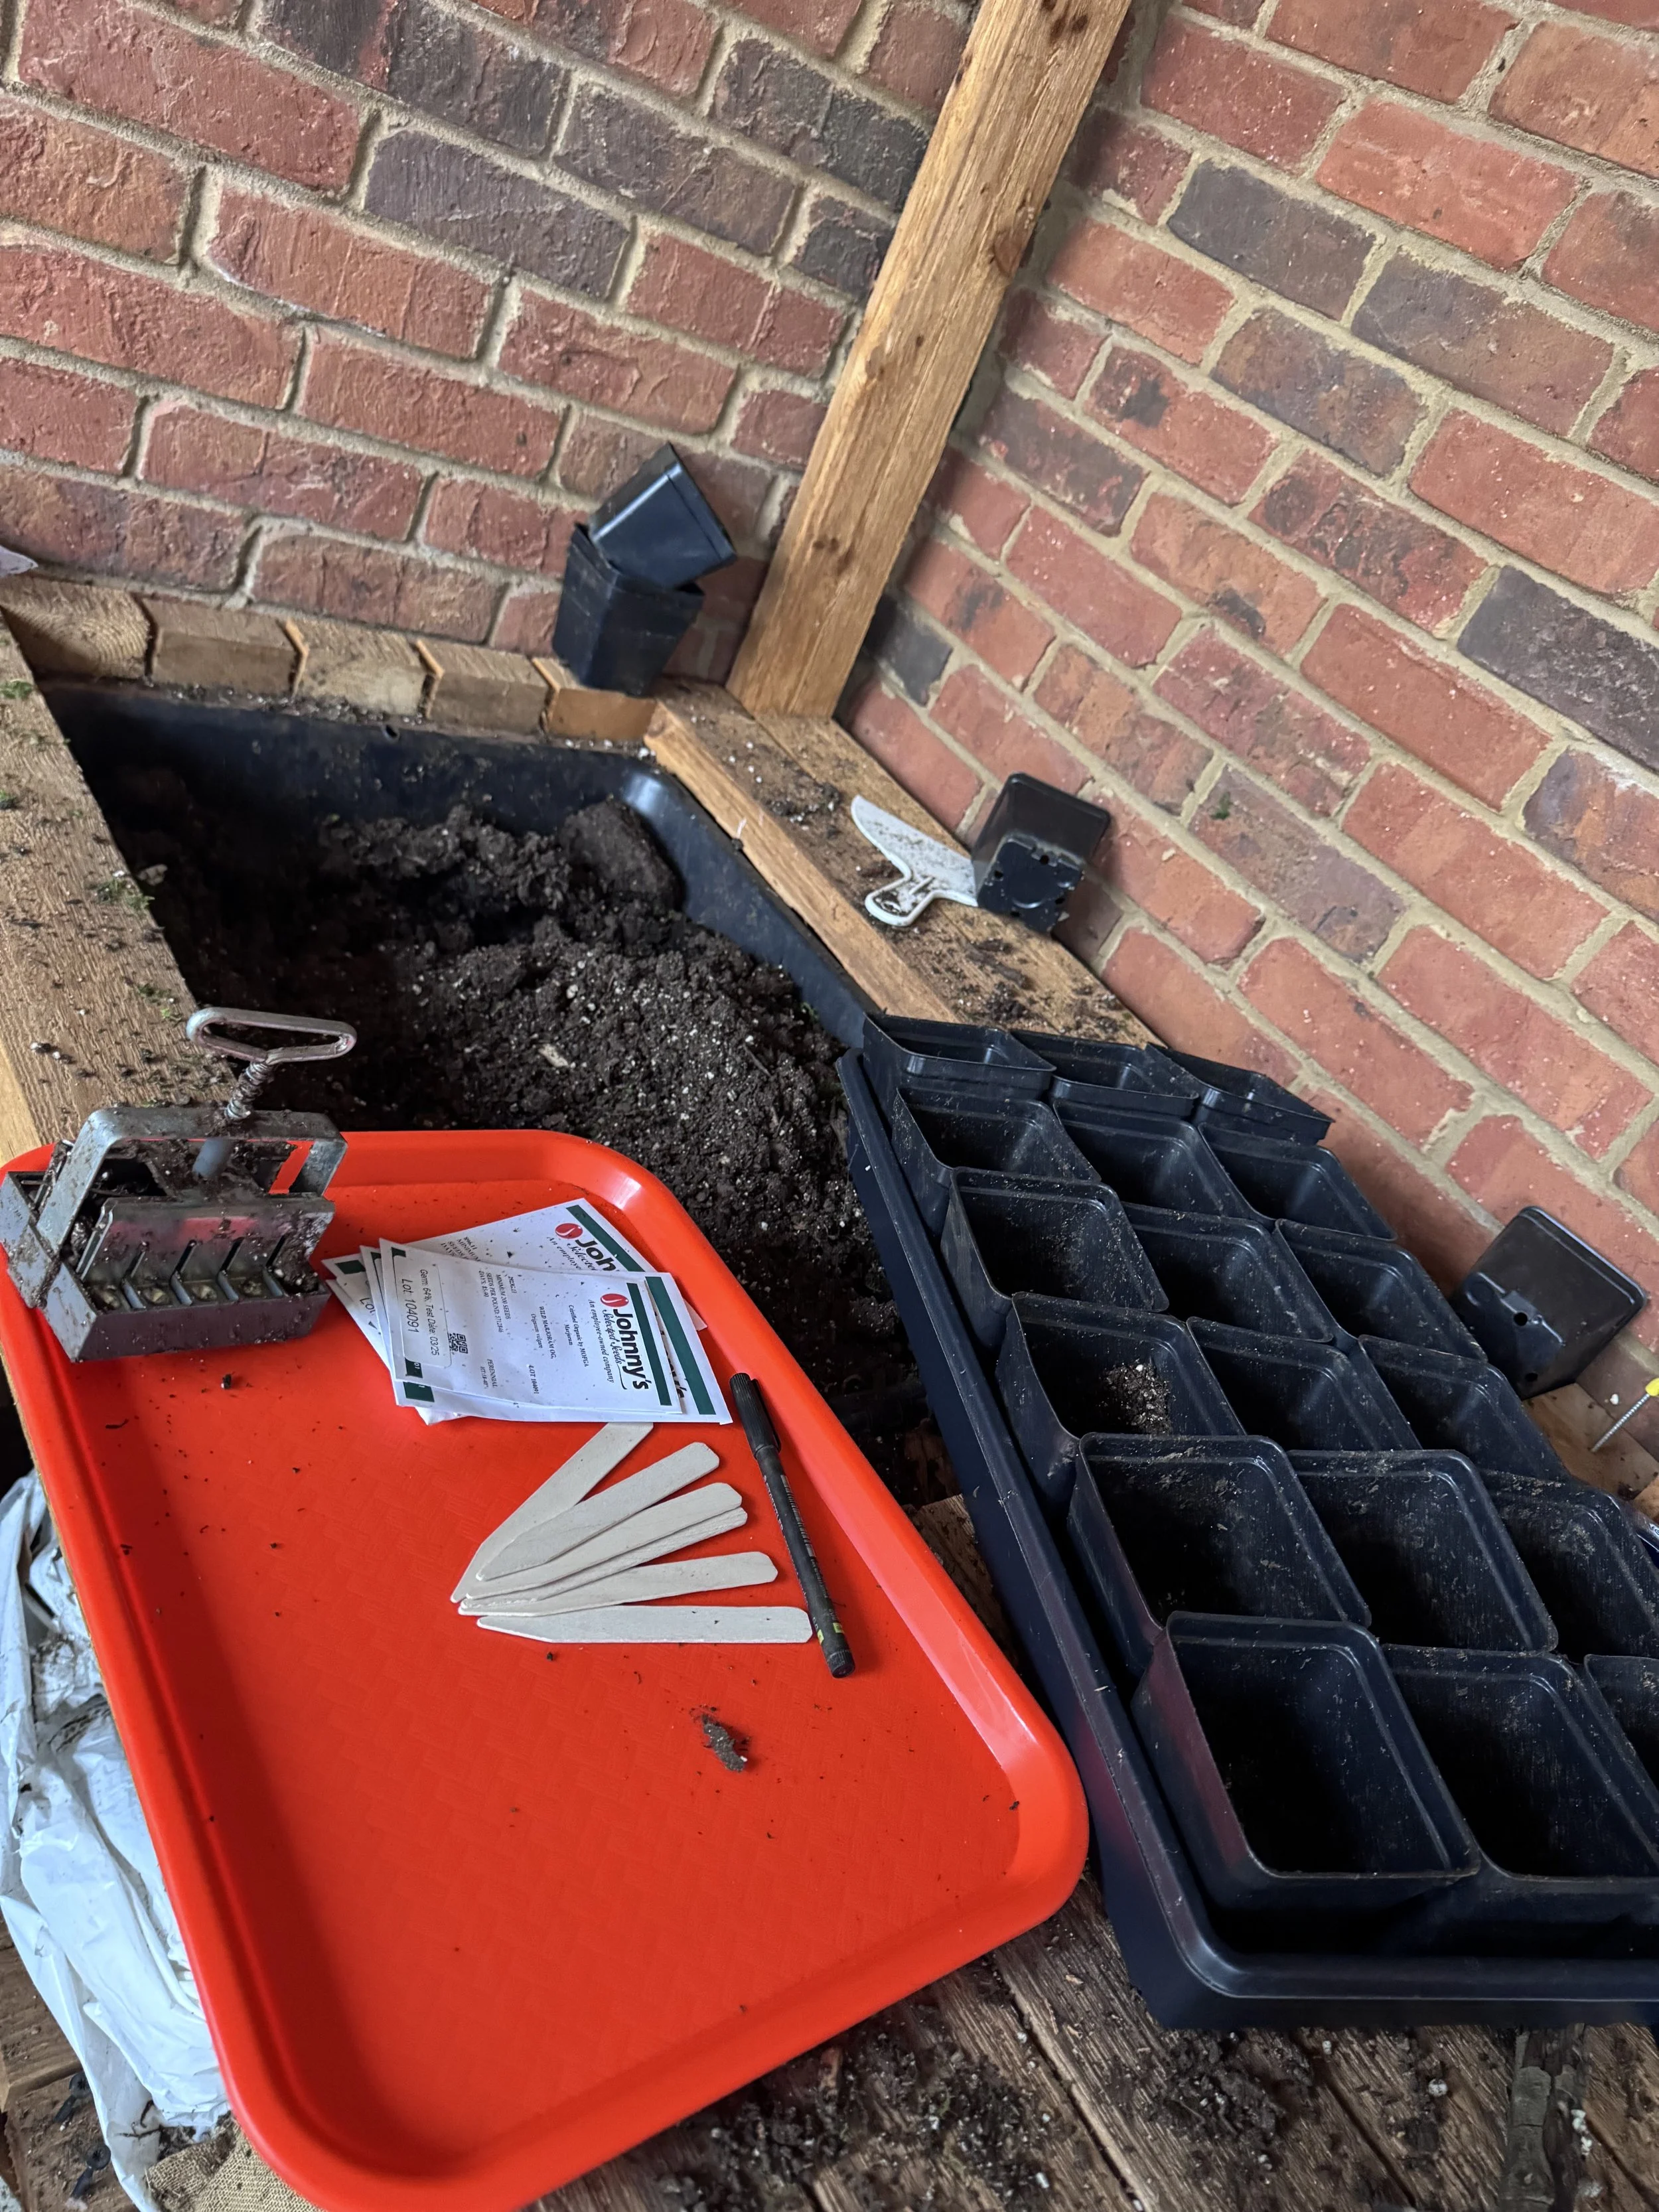
Image: potting bench with supplies. Trays, cells, soil, soil block, seed packs, wooden markers, sharpie. 

Knowing your average last frost date requires research and patience. Gardening constantly invites us into relationship with time and season rather than urgency.
You may feel eager to plant early — especially during a warm false spring. But restraint is part of the lesson. Seeds sown too early may become root bound. Seedlings planted too soon may be lost to frost.
Therapeutically, this teaches pacing. Not everything that can grow now should grow now.
Here are a few rough guidelines/suggestions for commonly grown flowers (and a few veggies)
8-10 weeks before average last spring frost
Snapdragon
Stock
Yarrow
Feverfew
Pepper (hot or sweet)
onions/leeks
6-8 weeks before average last spring frost
Bells of Ireland
Celosia
Herbs (perennial types, chives, oregano, sage, thyme, ect)
Grasses (ornamental)
Gomphrena
Strawflower
Method for Seed Starting
This is where the hands-in-the-soil magic happens.
1. Moisten your seed starting mix.
Feel the texture change in your hands. Notice the scent. Engage your senses — this is a grounding exercise. You want the soil, wet but not soggy.
2. Fill trays or cell packs.
Tap them gently. The repetitive motion is calming and rhythmic. Don’t fill to the top just to about 1/4 of the way up.
3. Sow 1–2 seeds per cell.
Slow down. This is delicate work. Consider setting an intention as you plant: patience, courage, hope. As a general rule, most seeds are buried about twice as deep as they are in size. So, a snapdragon seed is barely covered by vermiculite, and a zinnia seed is pushed down about a ¼ inch deep.
4. Gently tamp the soil.
Light pressure ensures good contact. This small act reminds us that support helps growth.
5. Cover with dome lid or plastic wrap.
You are creating a microclimate — a safe space for transformation.
6. Place on heat mat and wait.
Waiting is part of the therapy. Seeds germinate in their own time (3–28 days). You cannot force it. This stage strengthens patience and trust.
Keep soil moist using a spray bottle or bottom watering. The act of tending regularly builds consistency and attentiveness.
7. Move seedlings to light once germinated.
They need 16 hours of light. Just like us, seedlings stretch toward what nourishes them. Watch them lean toward brightness, it’s a visual metaphor for hope. Keep the seedlings 2-3 inches from the light source.
8. Monitor daily.
Daily observation builds awareness and connection. Notice changes. Celebrate small progress.
9. Harden off slowly.
After about 6 weeks, and the seedlings have their second set of leaves and a good root system it is time to harden off. Gradual exposure builds resilience. On day one, one hour outside. Increase daily. This gentle transition mirrors how we adapt best — slowly, steadily, with support.
10. Plant on a cool, cloudy day if possible.
Transplant carefully. Water deeply. Continue nurturing for two weeks while roots establish.
There is something profoundly satisfying about tucking a plant into the ground. It feels like trust — trust that roots will take hold, trust that growth will continue.
“Seed starting is not just about plants.
It is about participating in growth during a season that can feel dormant.
It is about patience.
It is about paying attention.
It is about hope placed into soil.”
I am diligently planting seed. 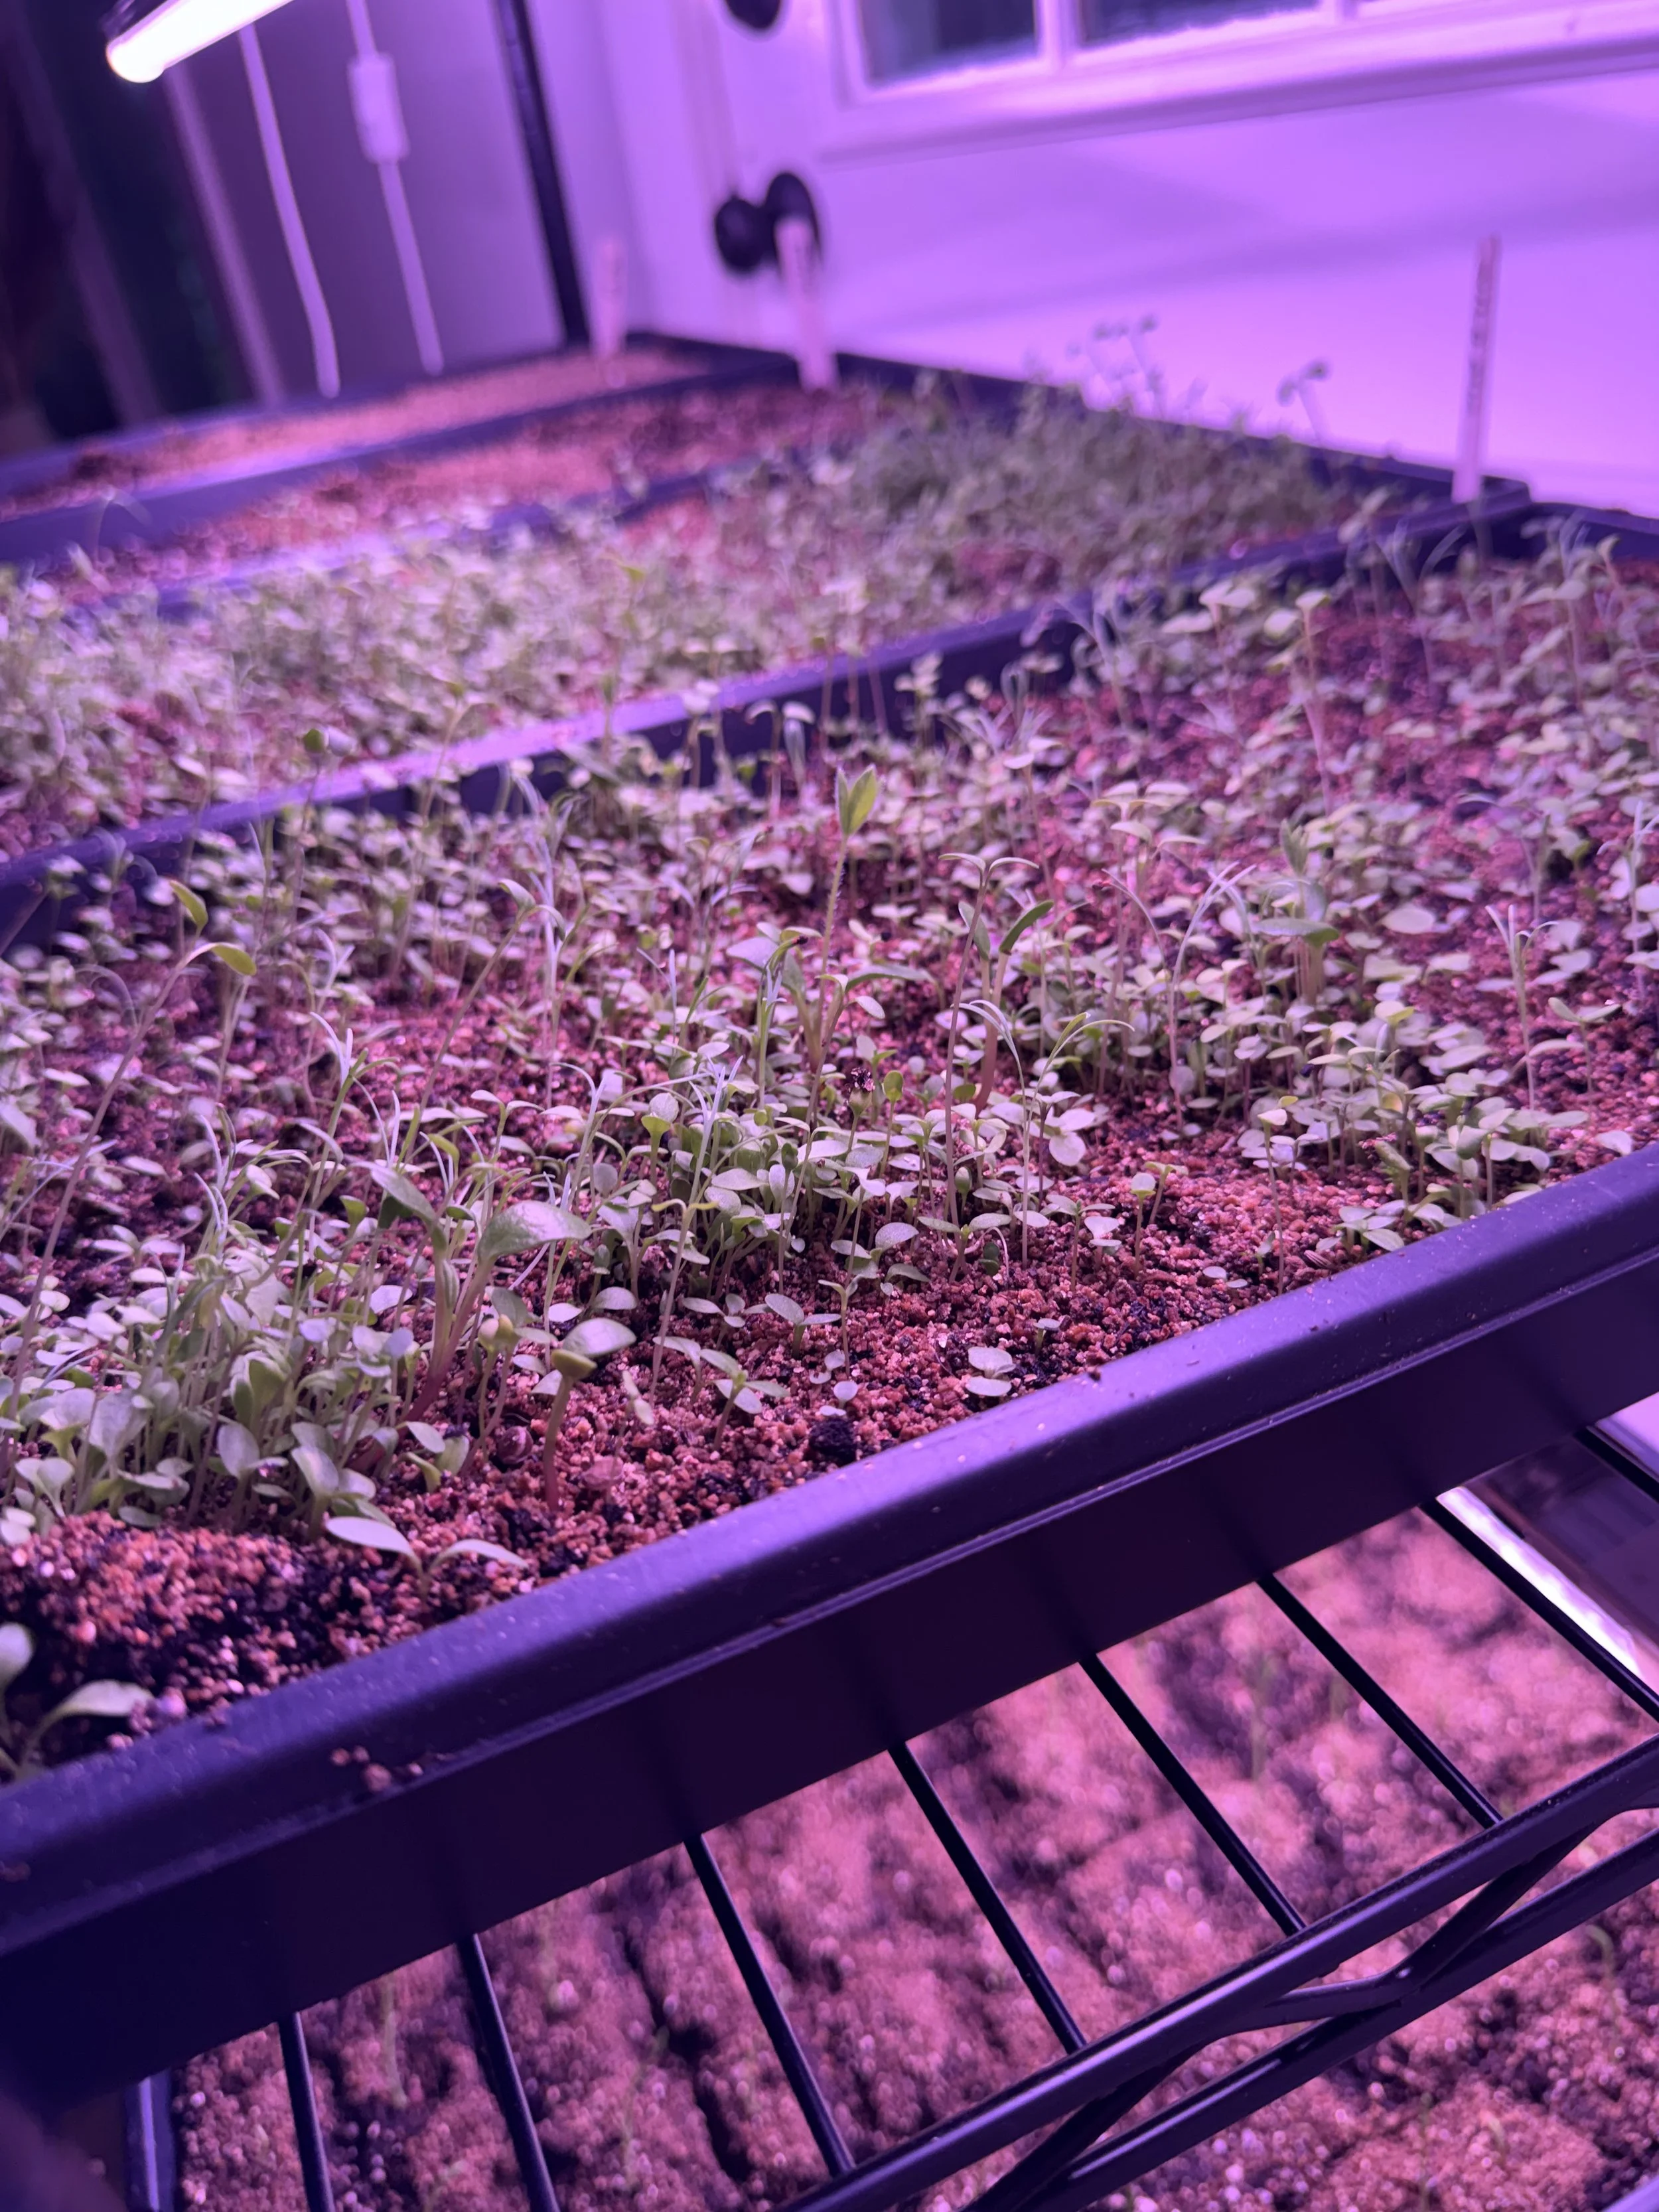
4-6 weeks before average last spring frost
Amaranth
Bachelor’s button
Basil
Broccoli
Cabbage
Cosmos
Lettuce
Marigold
Sweet pea
Tomato
Zinnia
2-4 weeks before average last spring frost
Cucumber
Melons
Pumpkin
Squash
sunflower
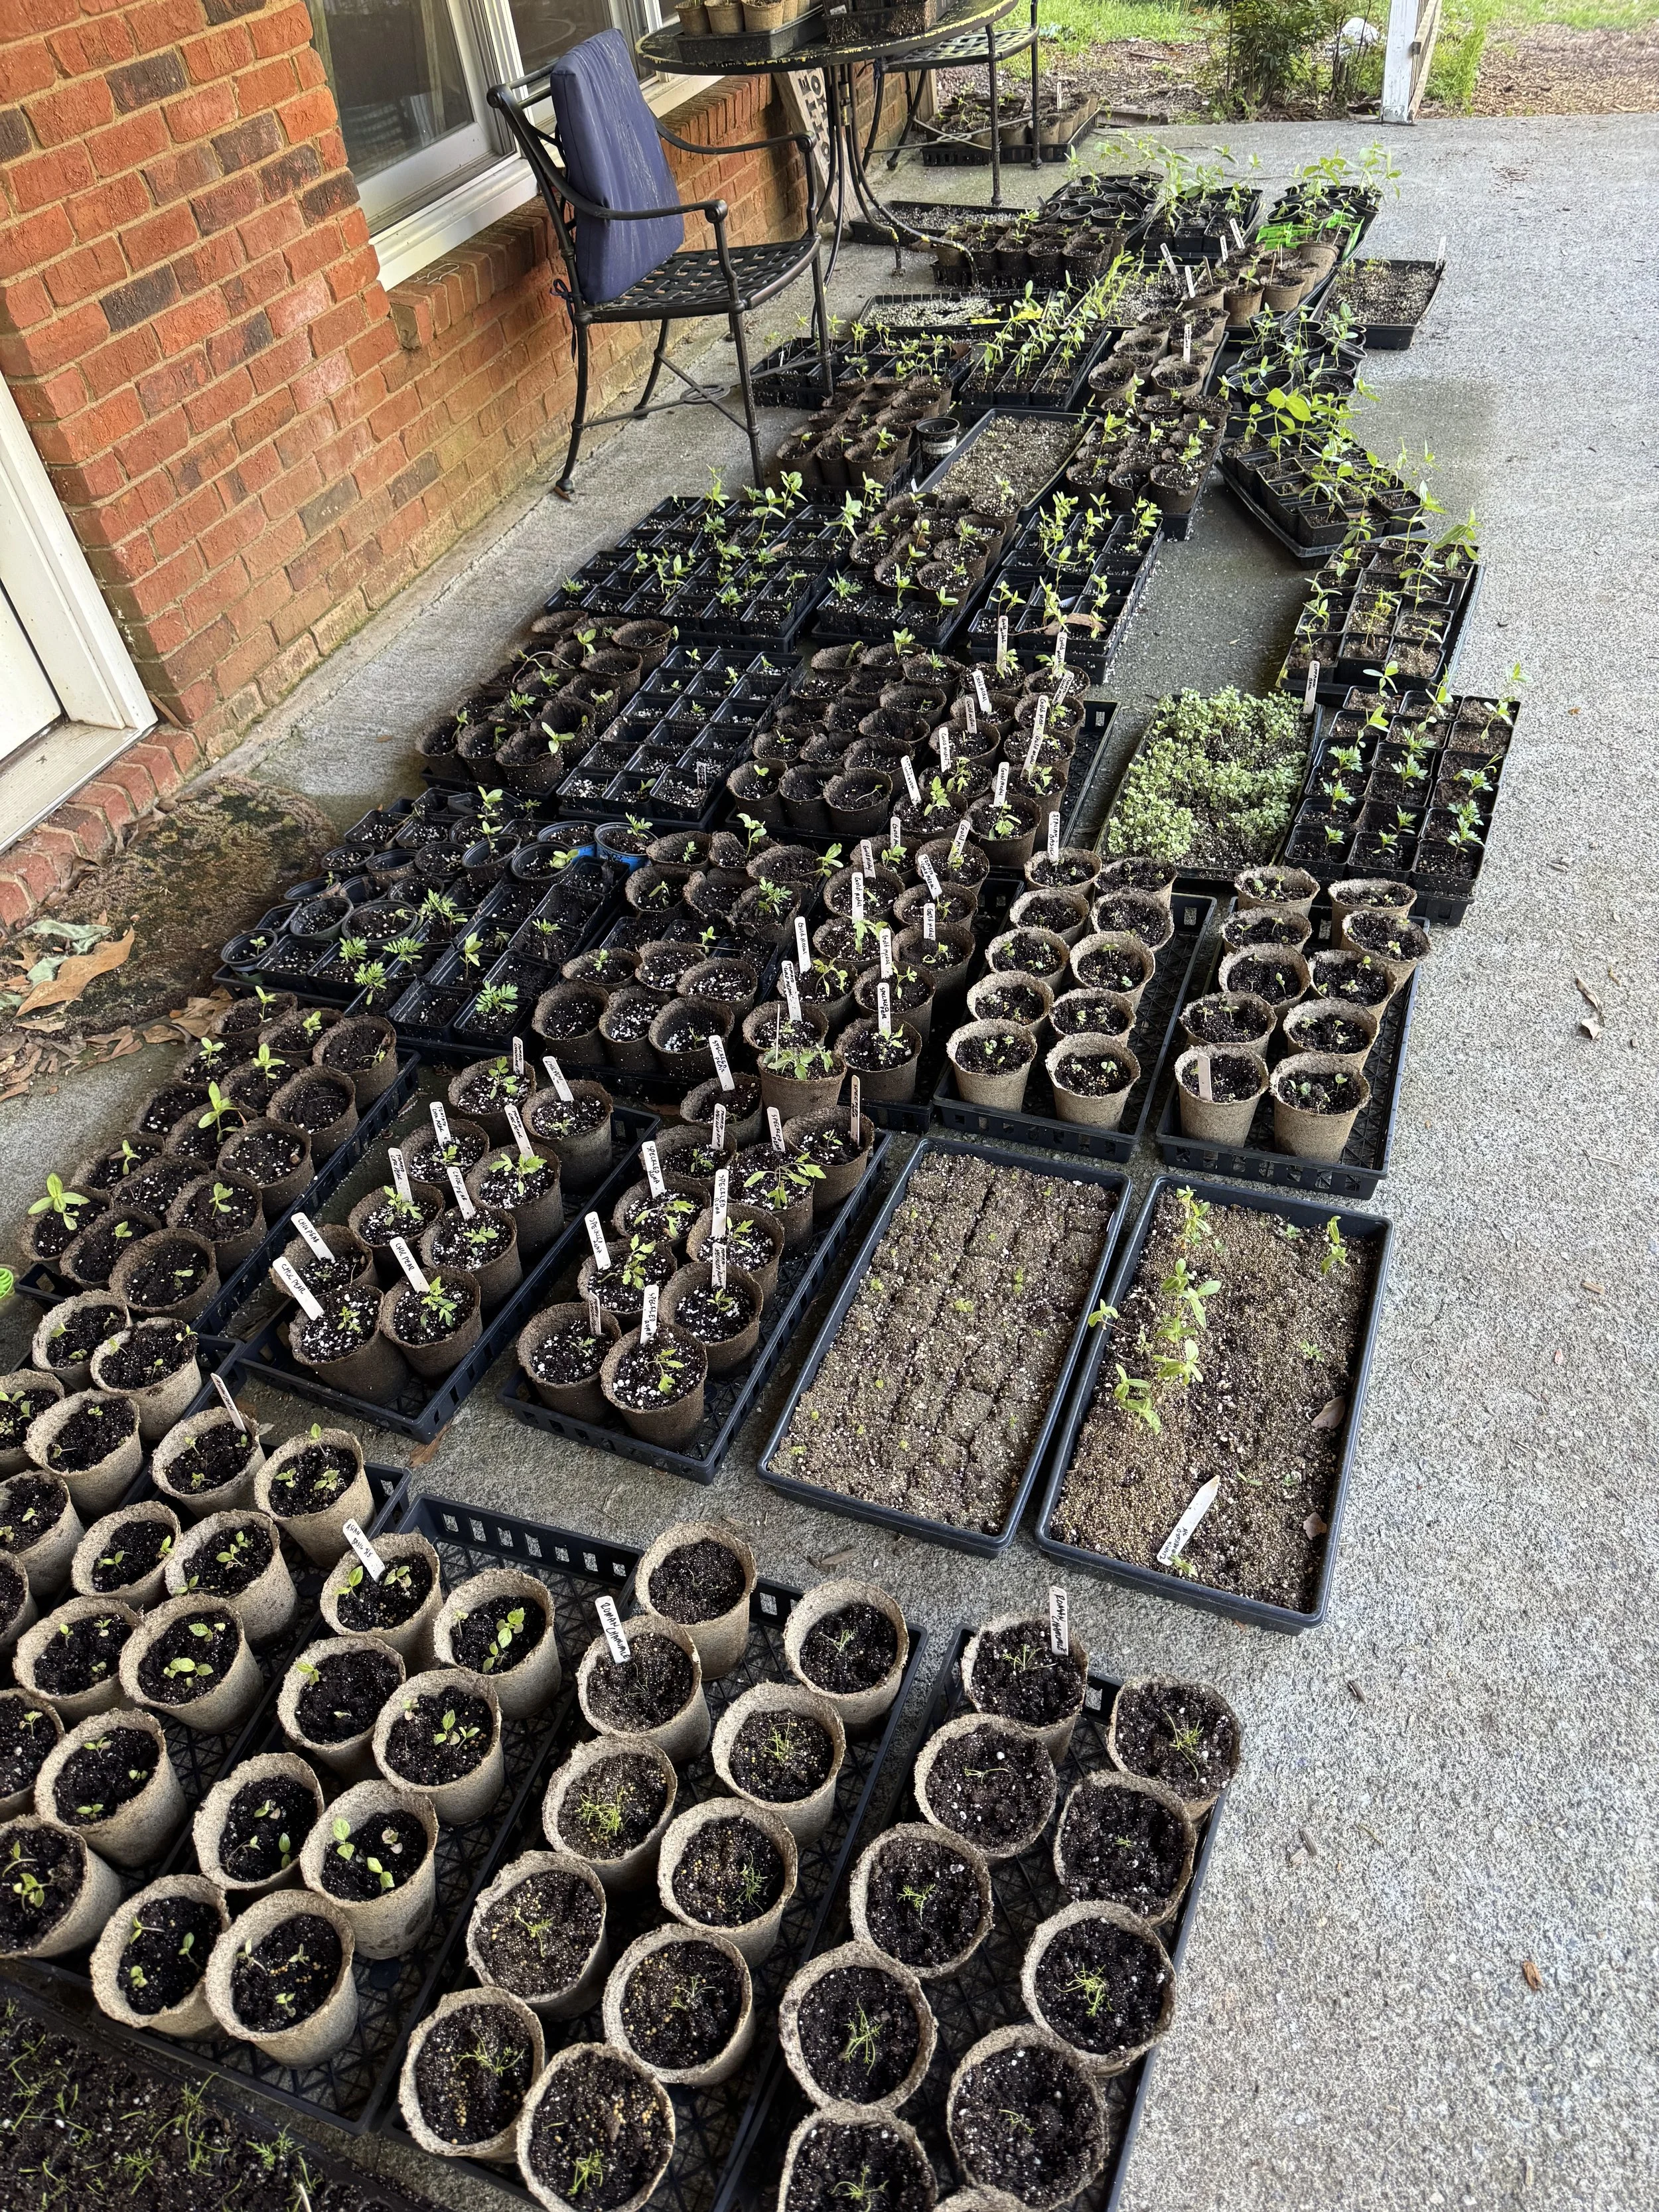
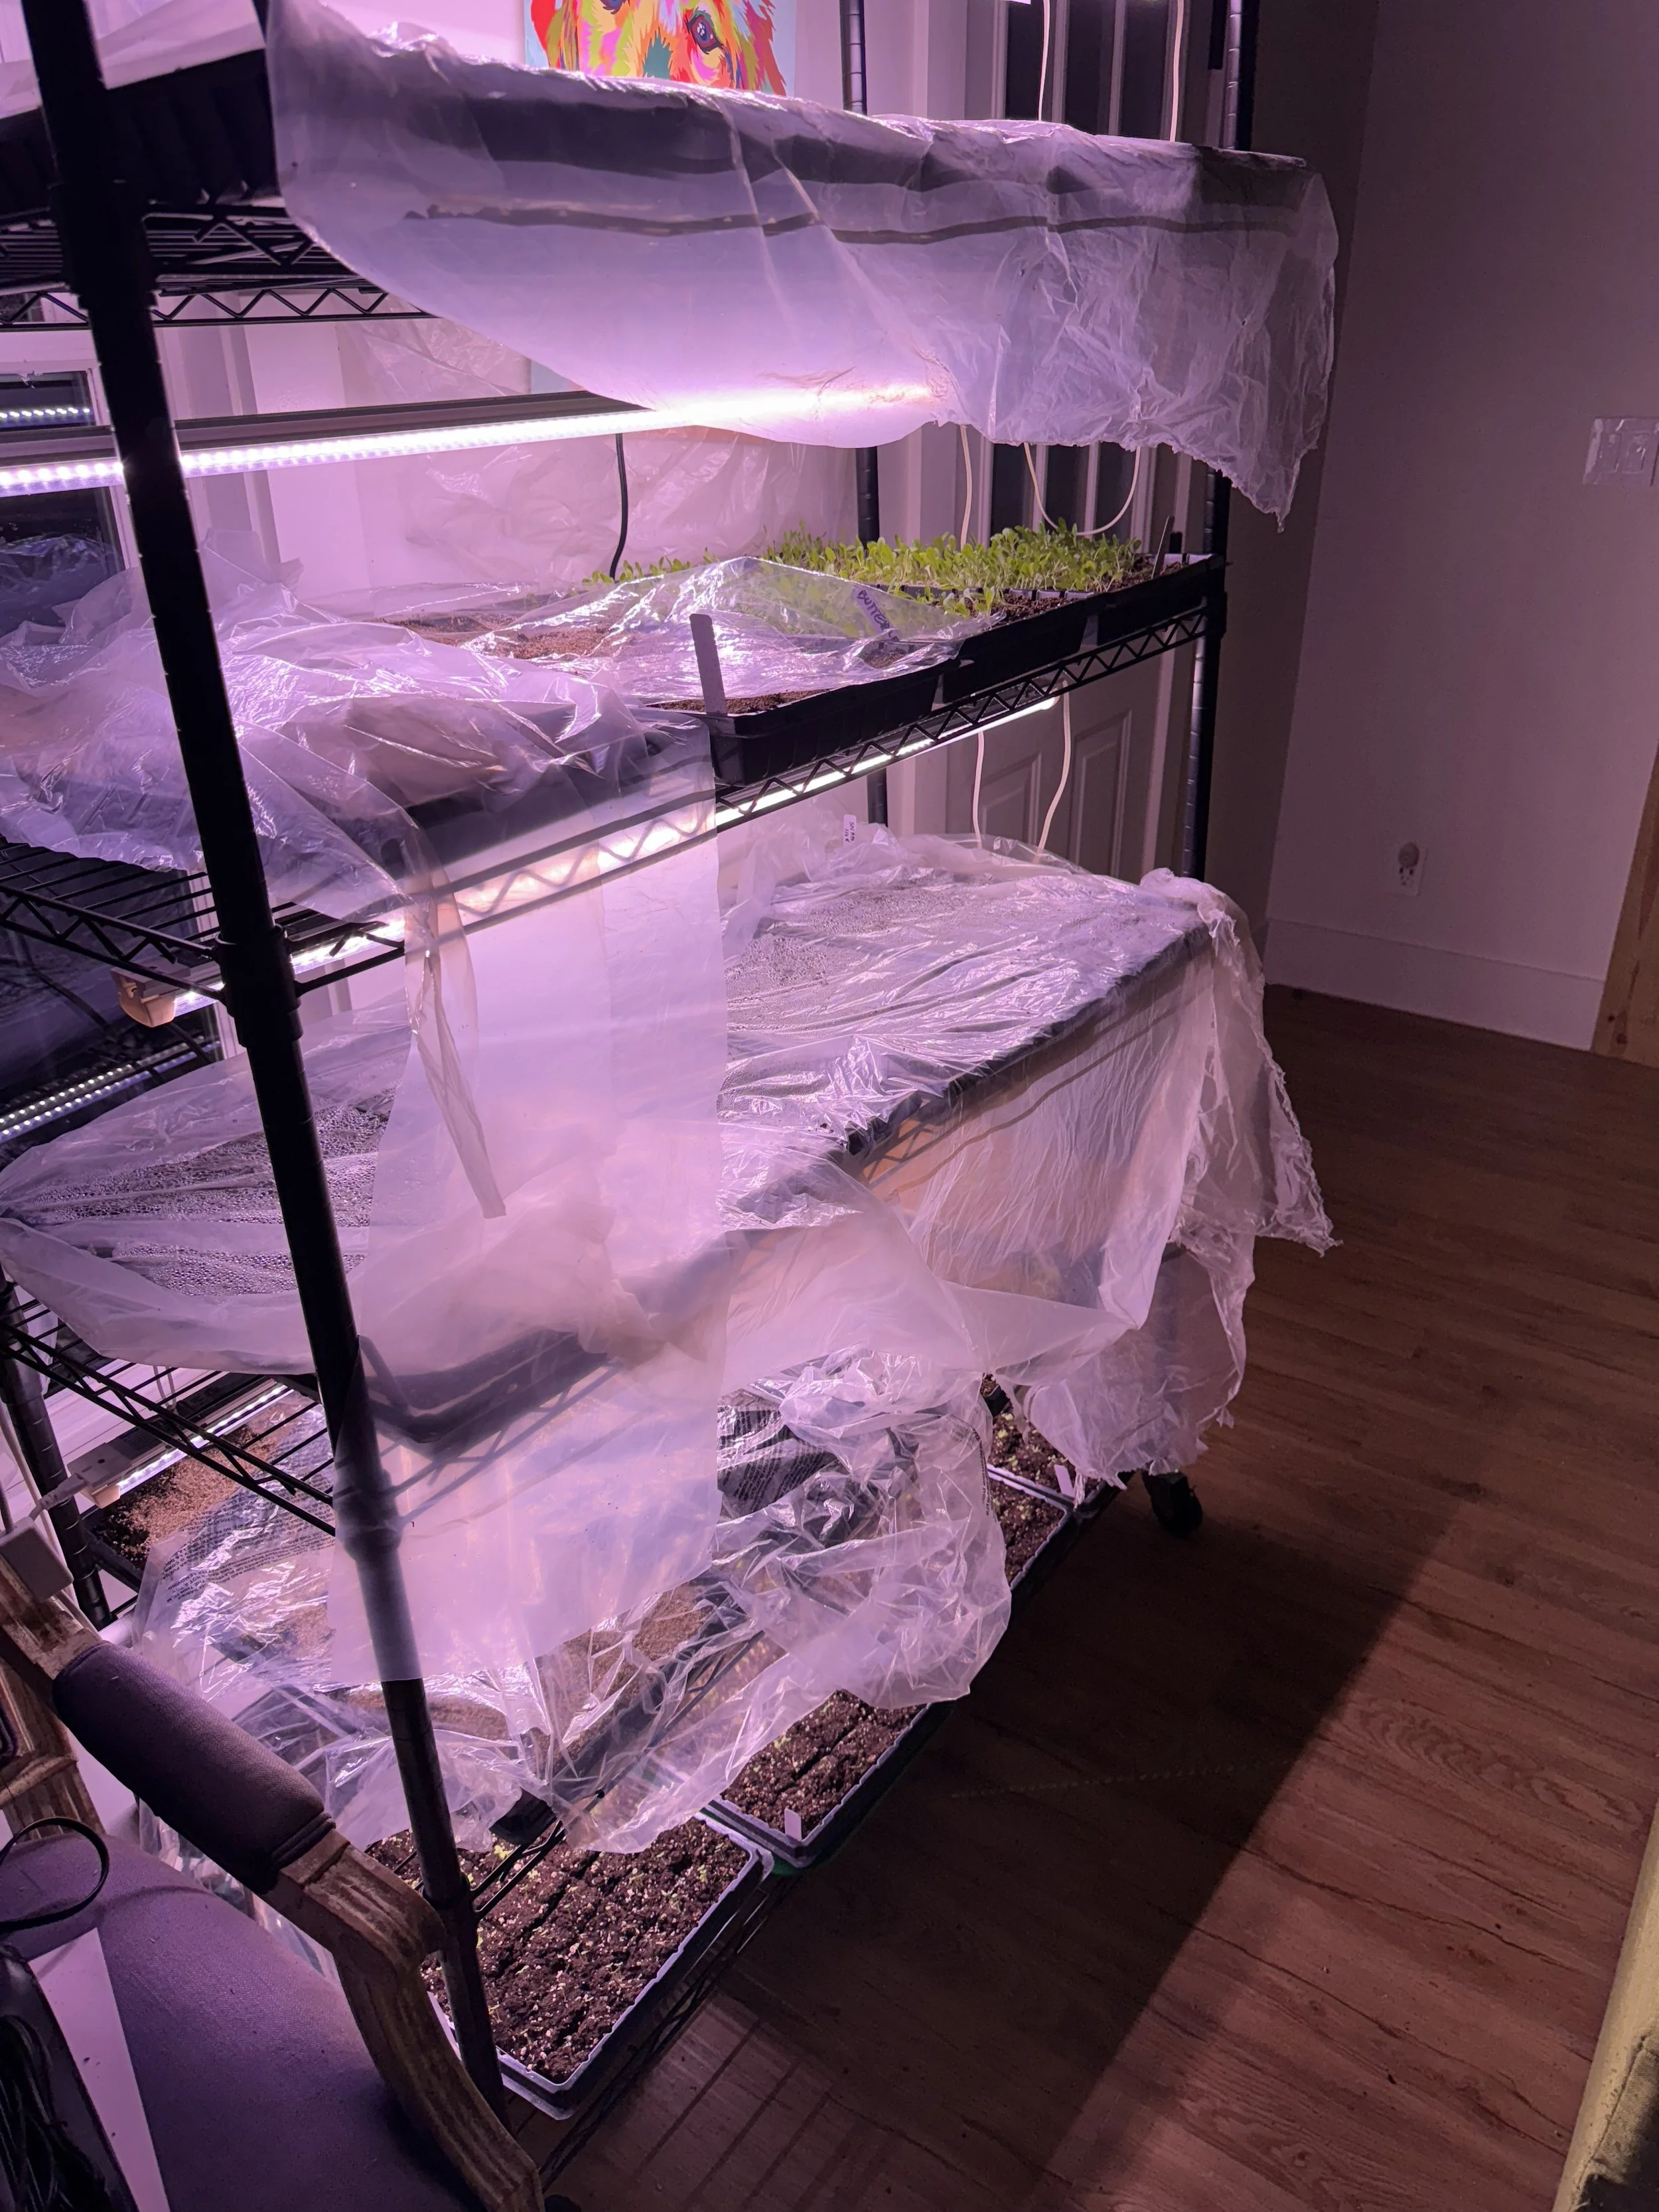
Farm 20252025 plants hardening off.Seedlings under lightsMy nephew helping at the potting bench.
Seed starting is not just about plants.
It is about participating in growth during a season that can feel dormant.
It is about patience.
It is about paying attention.
It is about hope placed into soil.
And every time a tiny green shoot breaks through the surface, it quietly reminds you — life is still unfolding.
With love and dirt under my nails,
Catherine
Tutorial | Seed Starting | Flower growing | Therapeutic Horticulture | Grounding | NatureVideo of the field: all grown from seed.